Tunxiaomeng Audio Player Disassembly and Repair - Fixing No Sound Issue on PIYO PEN Story Machine
A few days ago, the Tunxiaomeng audio player at home was dropped and lost sound. Both the device itself and Bluetooth produced no sound, but the Bluetooth connection function worked normally. I suspected it wasn’t the motherboard that was broken, most likely the speaker connection was loose. Unfortunately, my soldering iron wasn’t nearby, and I didn’t even have a simple screwdriver, so I couldn’t disassemble it, let alone repair it.
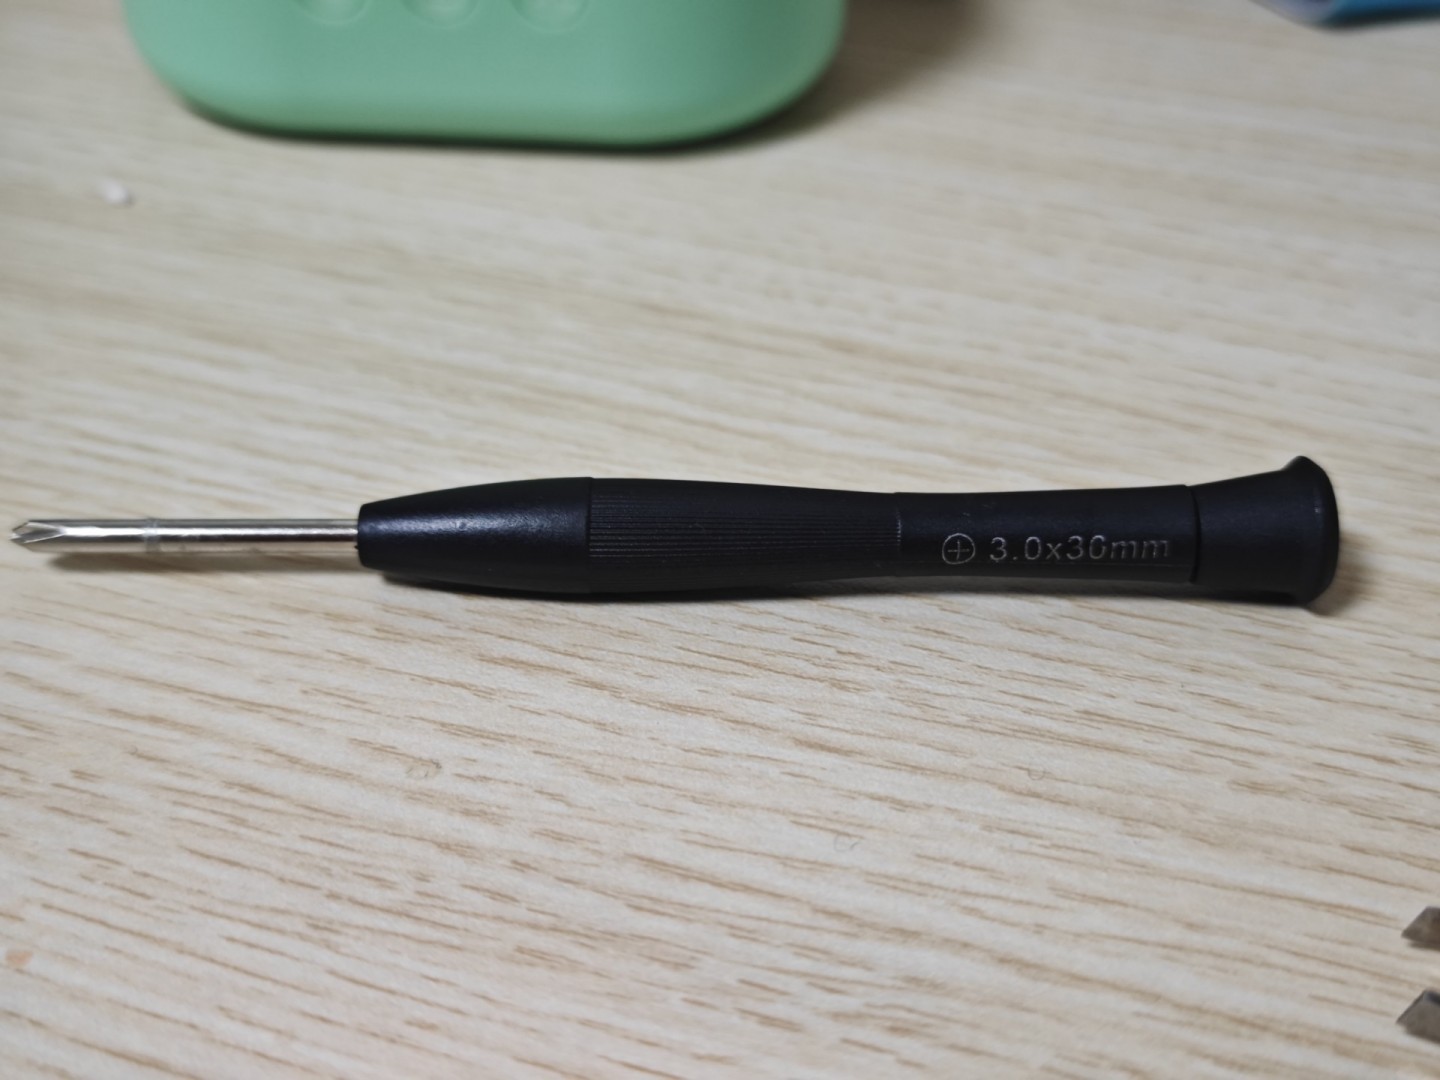
Today, a small screwdriver suddenly appeared from somewhere, so I wanted to try opening it. The disassembly was a bit tricky - I almost broke it with brute force, but I kept feeling there was a hidden screw somewhere. Fortunately, I found it and successfully disassembled the device.
After opening the Tunxiaomeng audio player, I found that the motherboard and power connections were all normal, so it had to be the speaker. After removing the speaker screws, sure enough, the connection had come unsoldered and broken. I must say, this is simply a design flaw. They claim it’s an early education machine for children, knowing full well that the user base is children, and bumps and drops are inevitable. Yet the speaker connection uses such thin metal wires - thinner than hair, with only a few strands, both sparse and thin. Moreover, the official warranty isn’t free - you have to pay for shipping and repairs yourself. At least my unit had no warranty.
I did it myself without a soldering iron, without spare parts, without other tools - just a small screwdriver and metal twist ties picked from the trash. Successfully fixed it. Here’s a simple record of the steps.
Dealing with 6 Screws
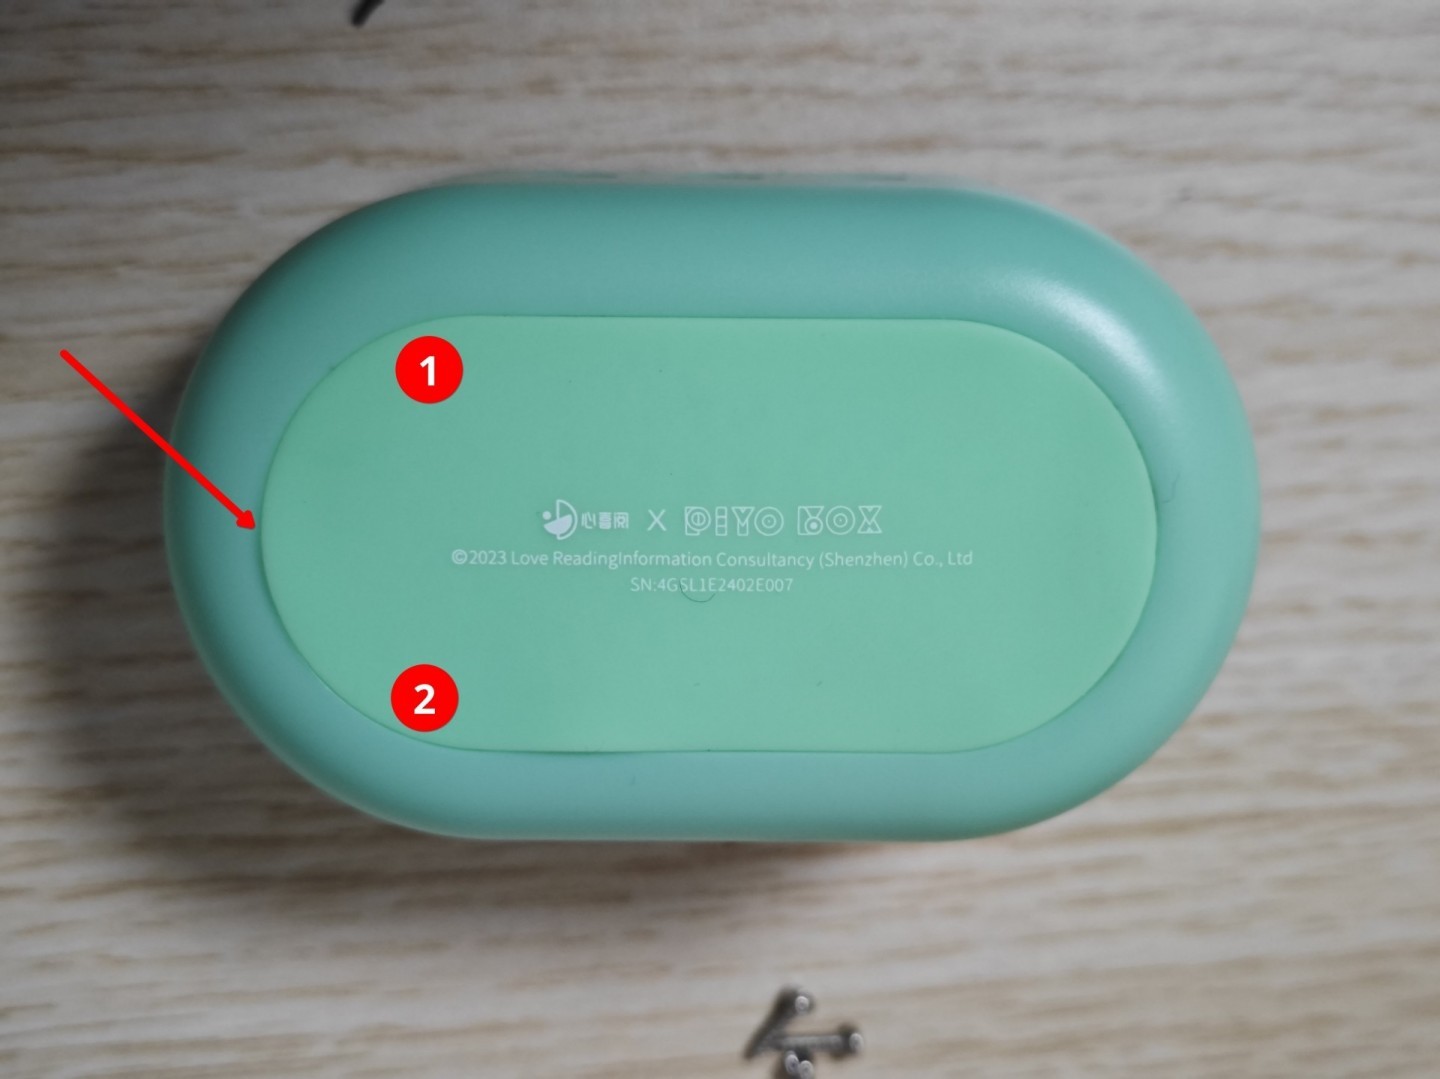
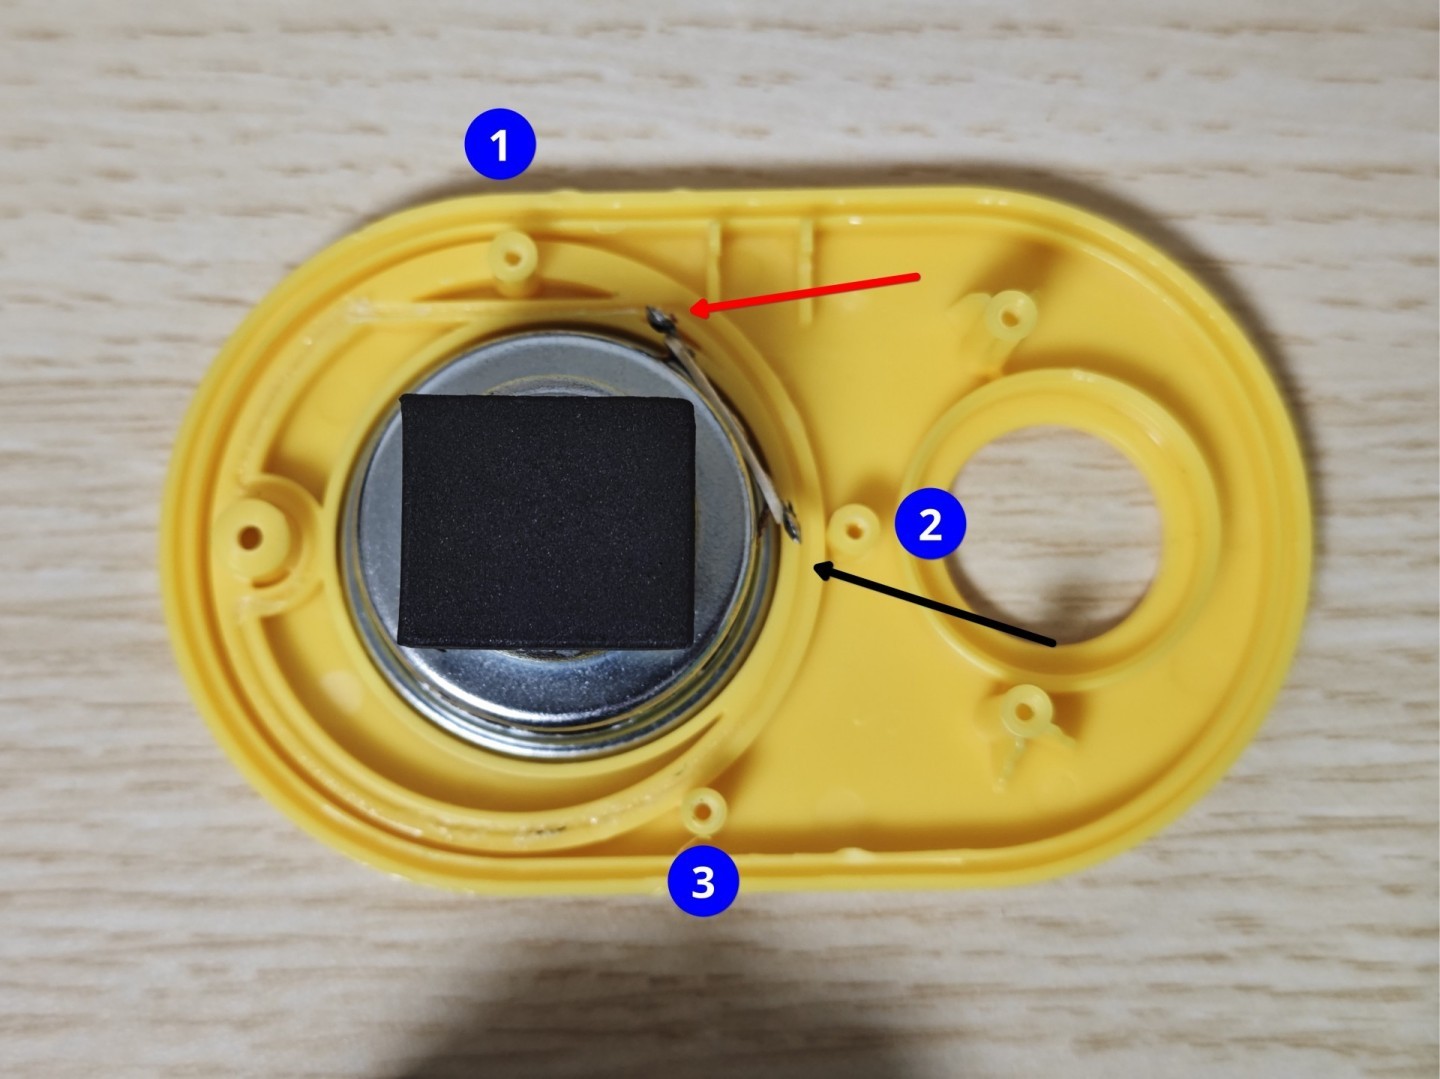
The Tunxiaomeng audio player has a total of 6 screws: 1 on the front, 2 on the back (red 1, 2, 3), and 3 around the internal speaker (blue 1, 2, 3).
Back Screws
Along the edge of the silicone pad, pry open the silicone pad. It’s best to pry at the red arrow position for minimal tearing - mine came completely off and got quite dirty. After prying open, remove the screws at red positions 1 and 2.
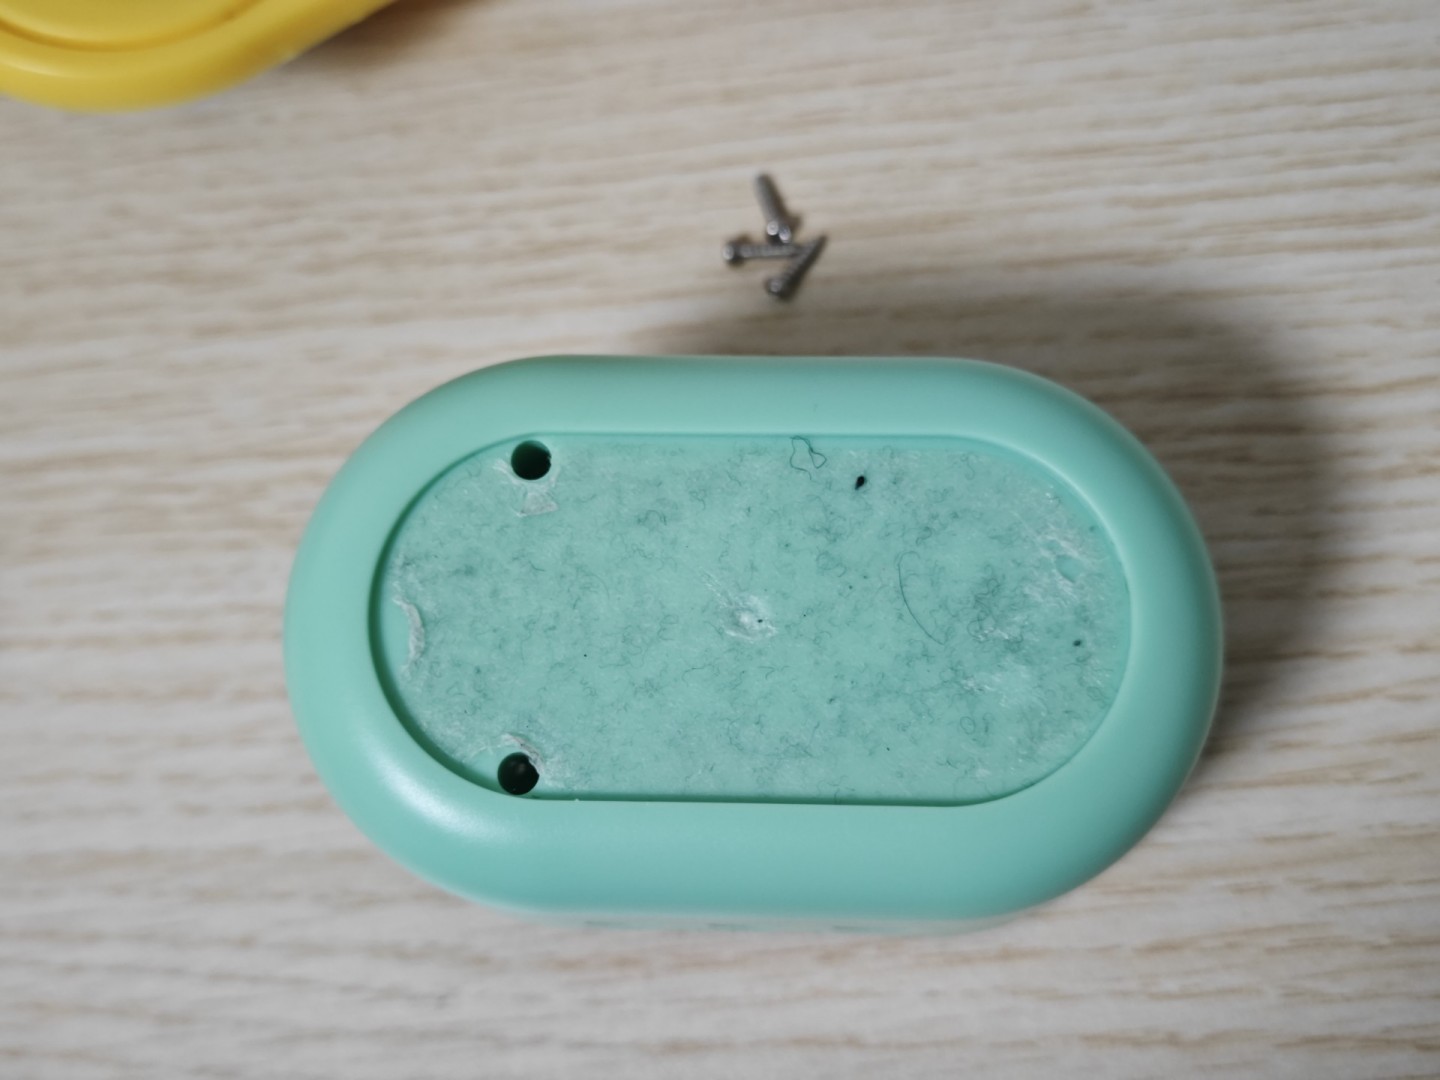
After removal
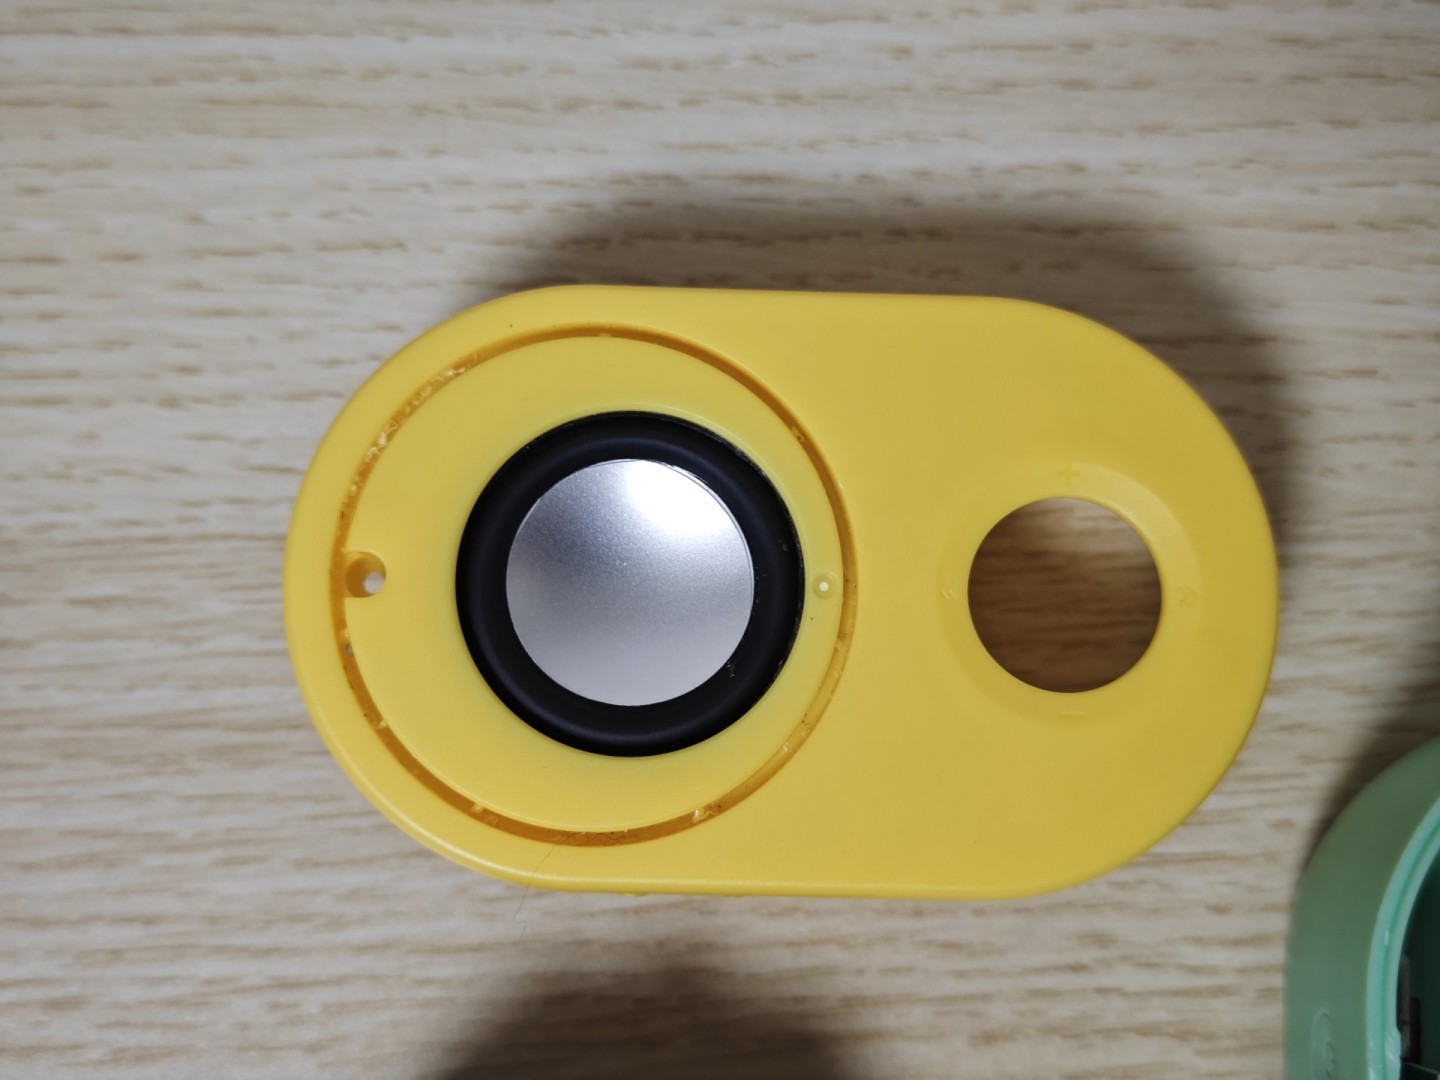
Front Screw
This front screw took a long time to find. If you don’t remove this screw, you’ll definitely break it during disassembly. The speaker cover has adhesive on it, making it difficult to remove directly. Heat it with a hair dryer, then you can pry it open along the red arrow. After prying open, remove the screw at red position 3.

After removal
Internal Screws
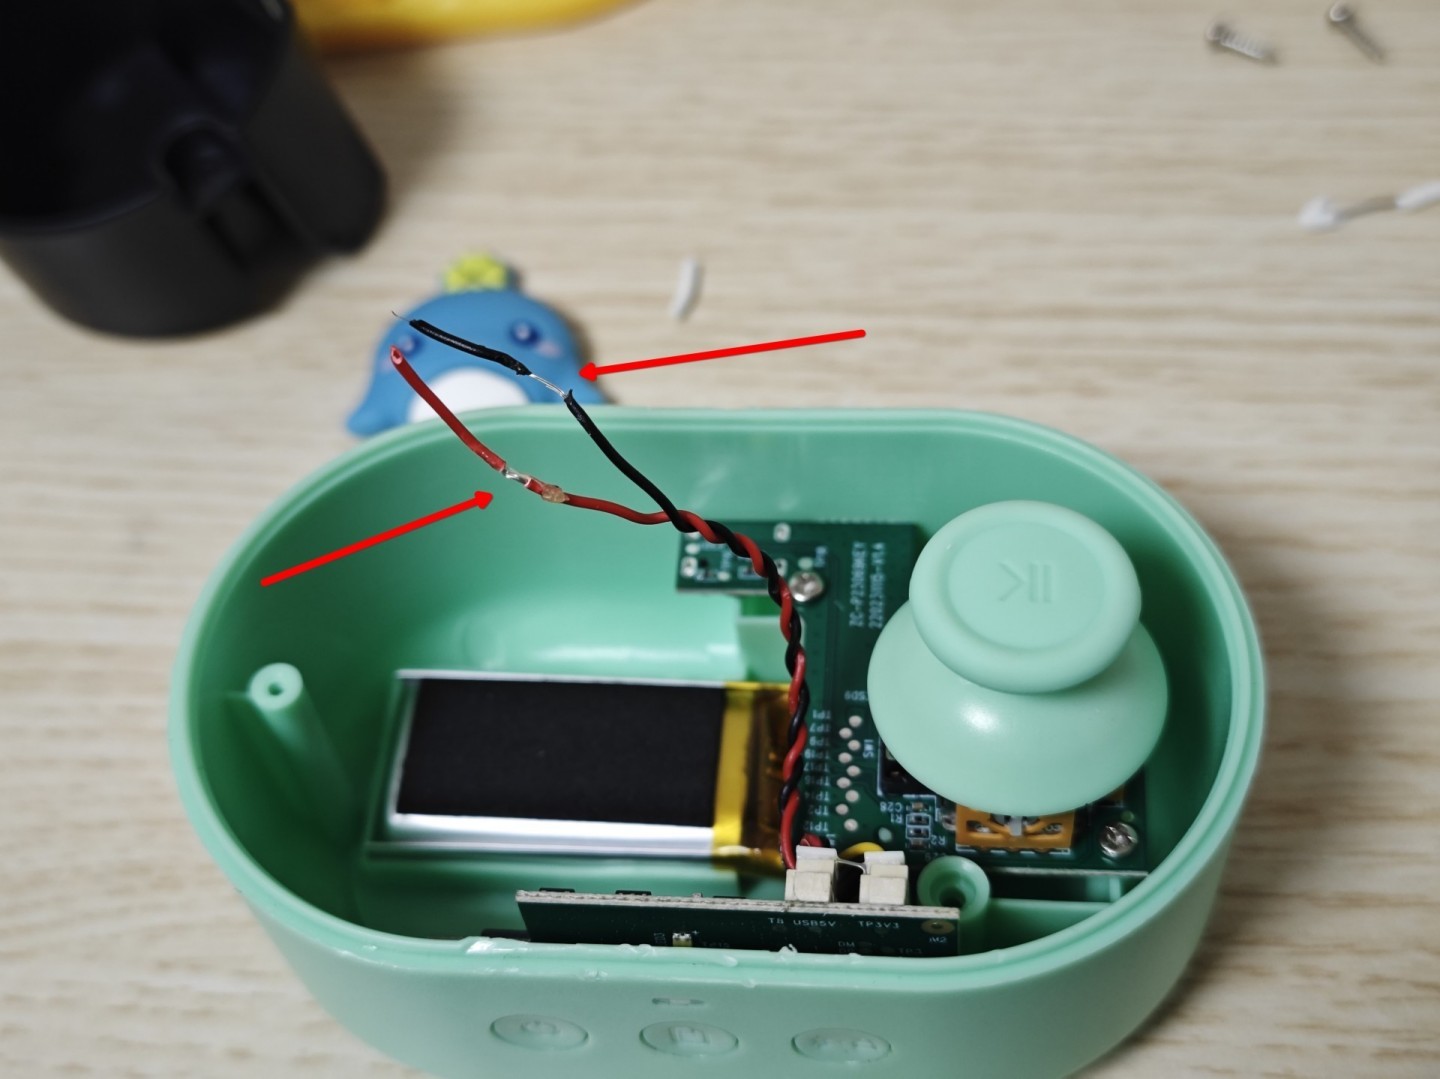
At blue positions 1, 2, 3, after removing the screws, you can see the speaker. My red wire at the red arrow position was broken, hence no sound. I noticed the black wire at the black arrow position was about to break too, so I pulled it off as well.
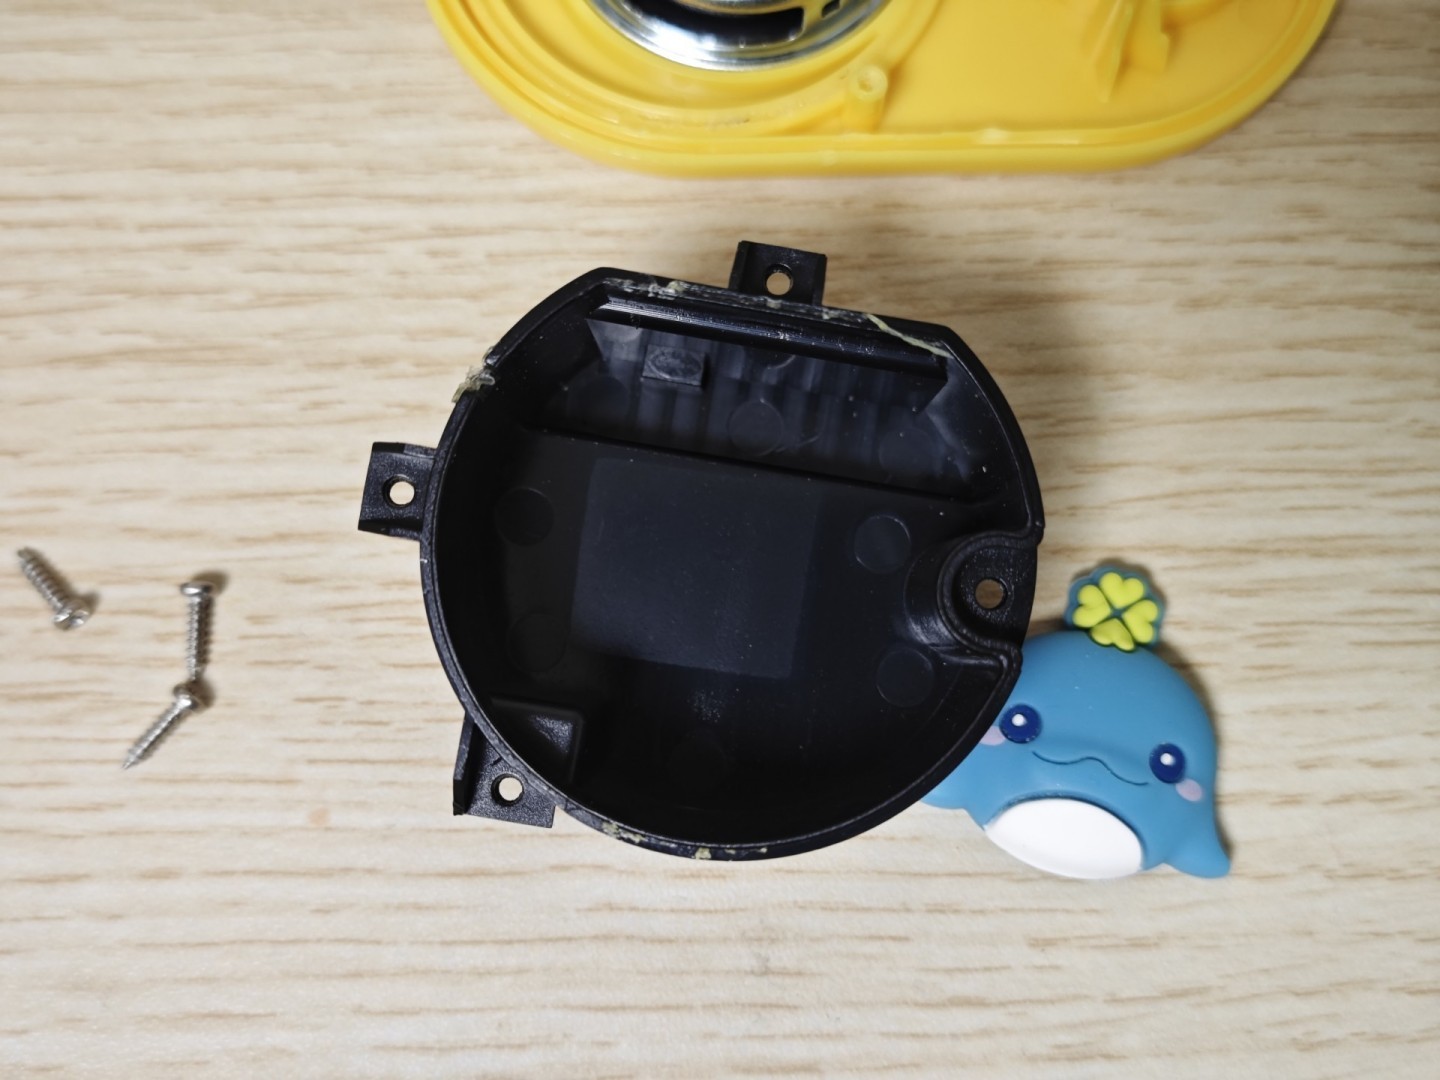
After removal
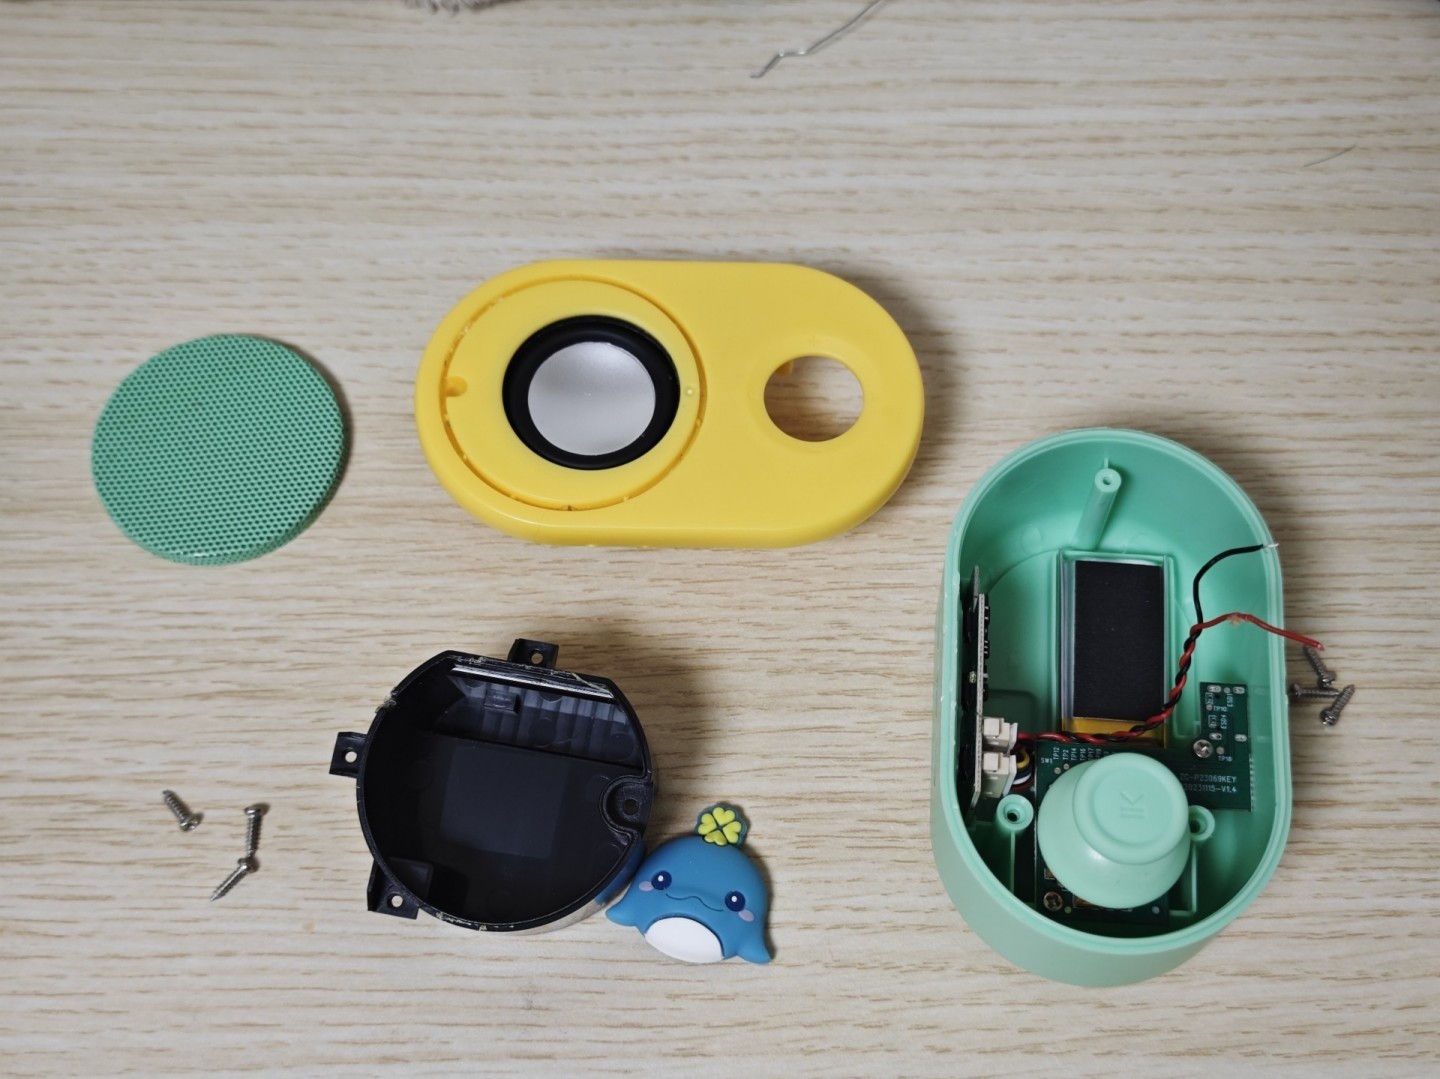
A family photo - these are all the parts of the Tunxiaomeng audio player
DIY Parts
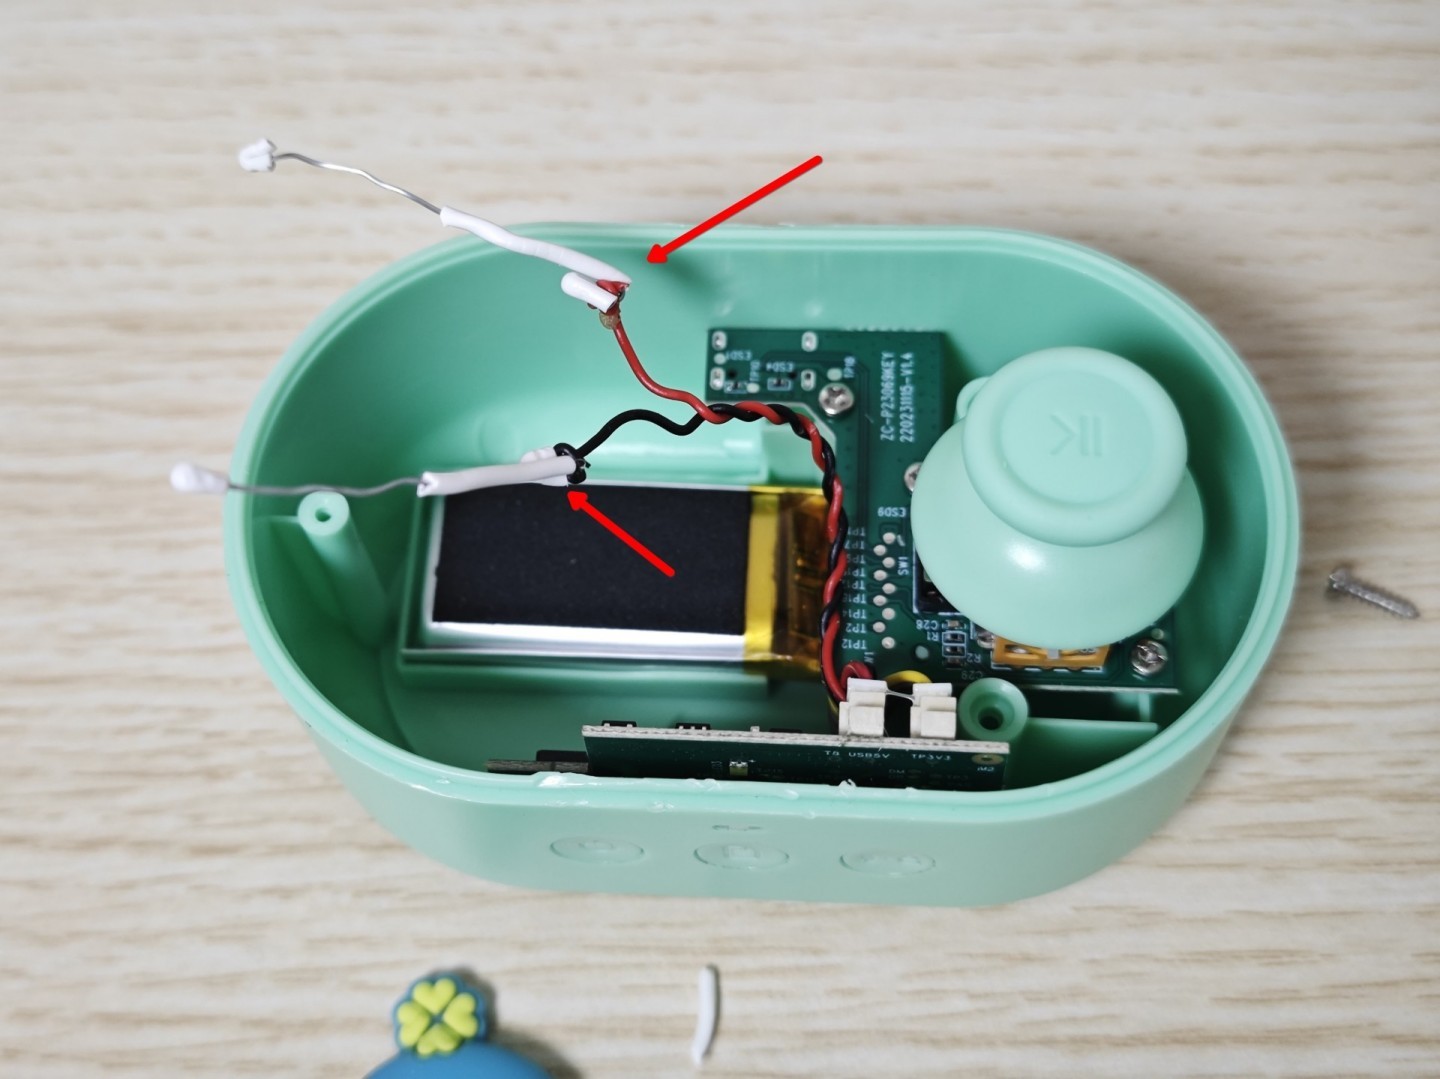
The original connecting wires were both thin and short. Worried they wouldn’t withstand handling, I decided to reuse materials by using metal twist ties as connecting wires. I made two openings at each end for easy reconnection and extension.
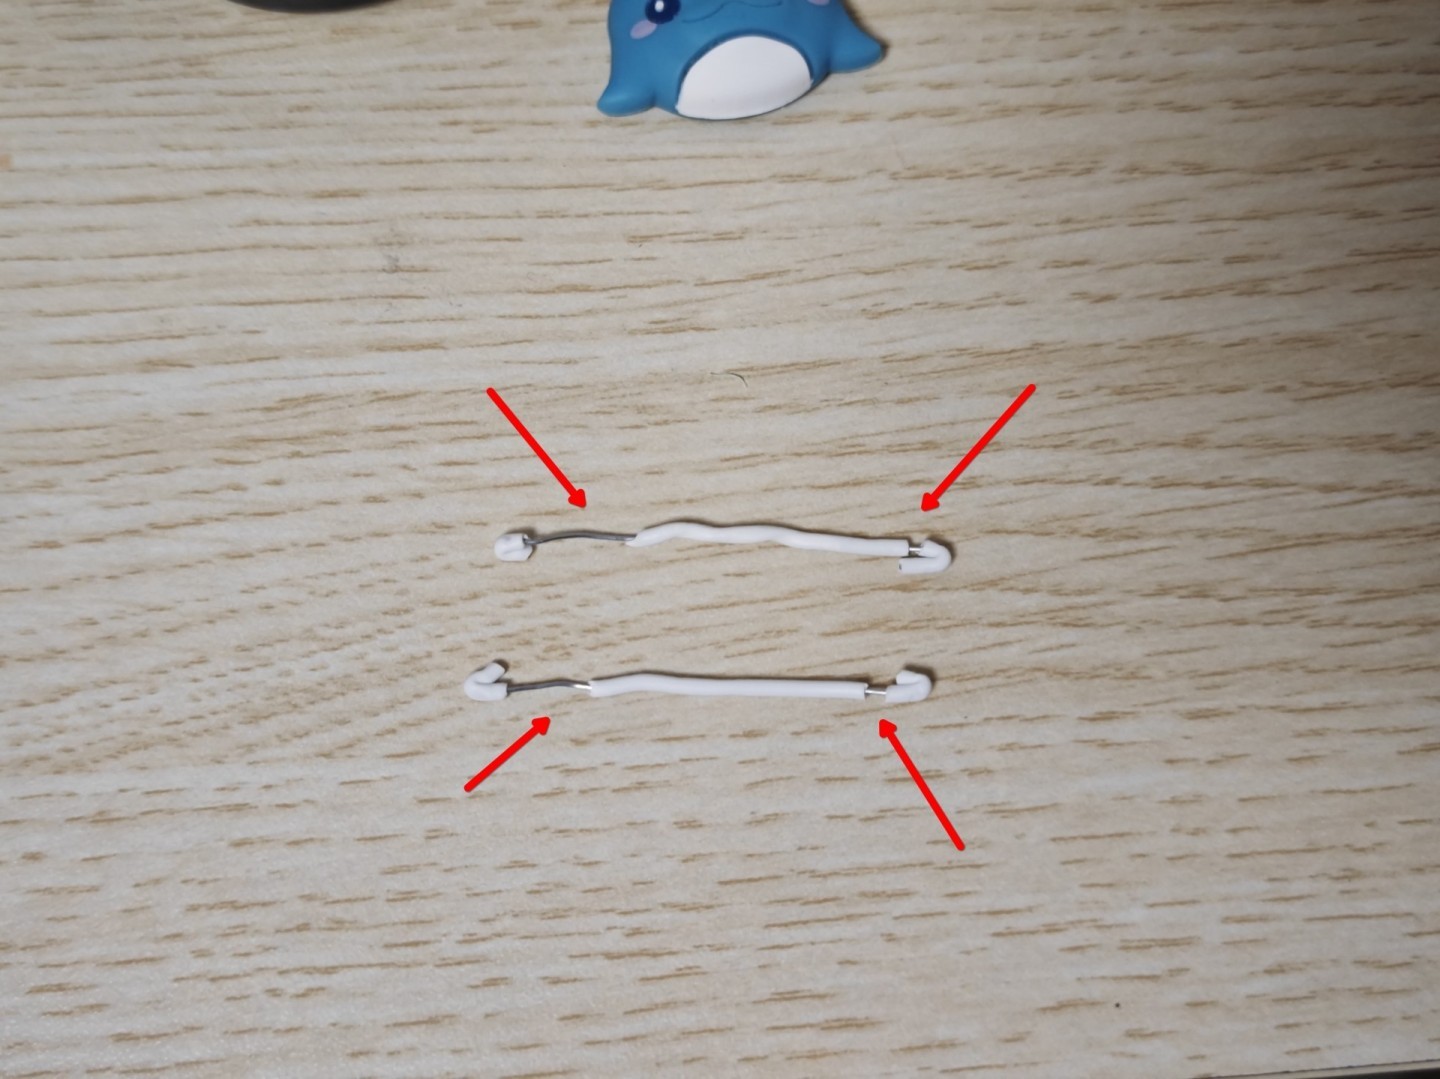
Also made an opening on the original connecting wire for reconnection. Look at how thin this wire is - what were they thinking during production, just wanting to sell more units?
Connecting extension wire
Reconnecting the speaker
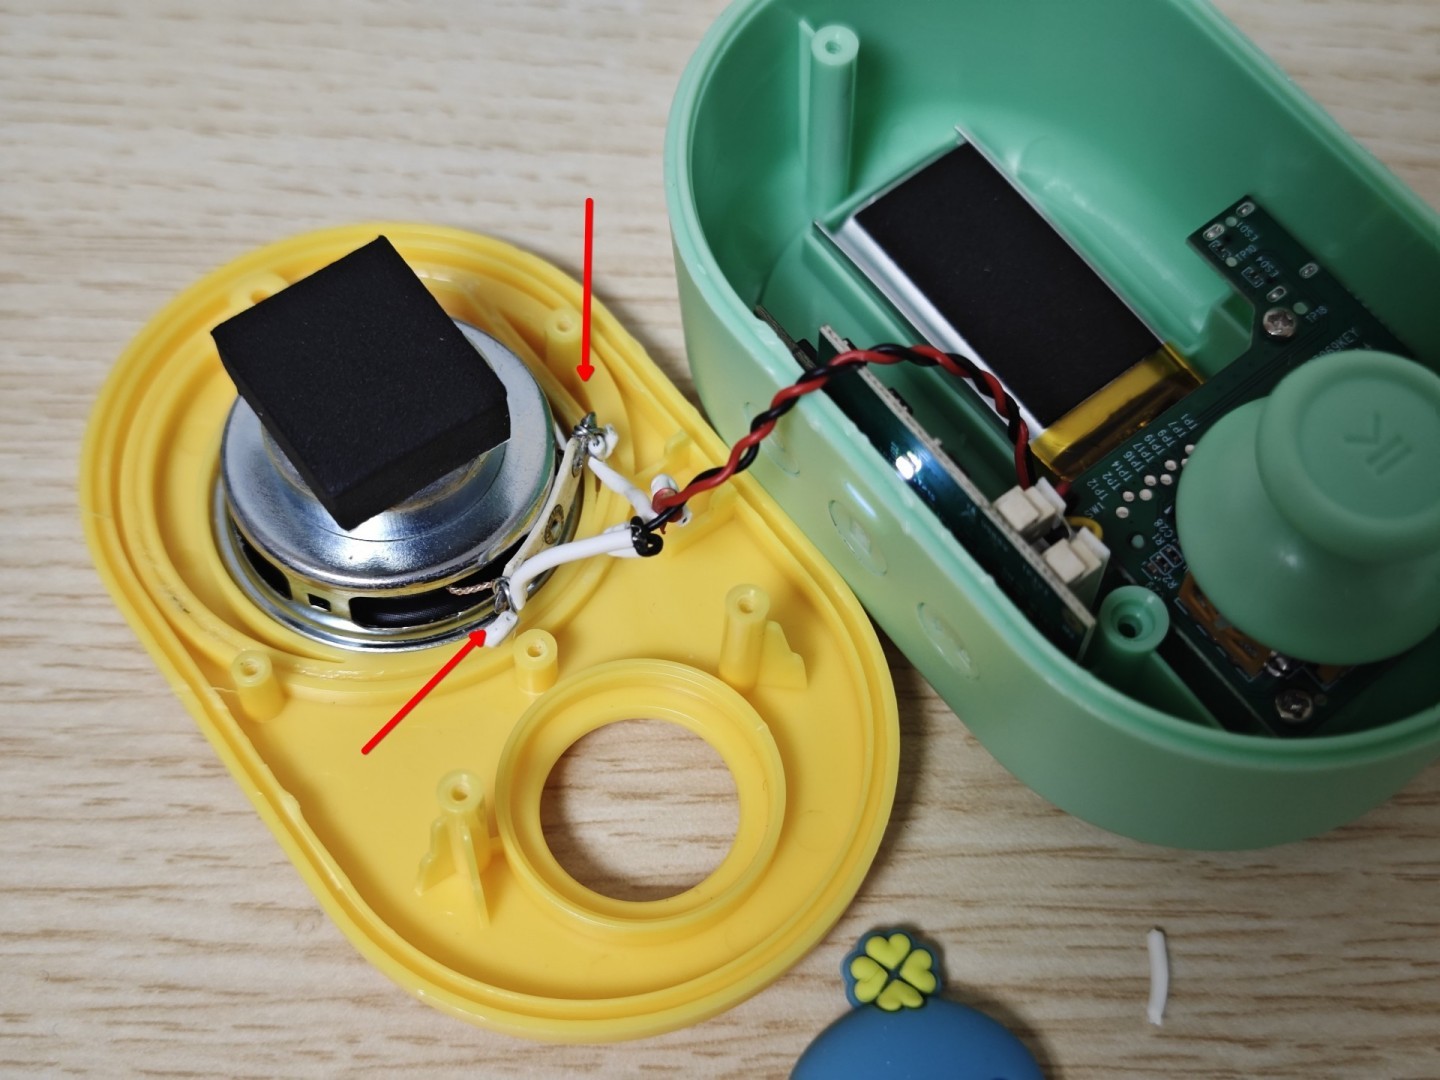
Reinstall the parts, tighten the screws, and successfully resolve the Tunxiaomeng audio player no sound issue.