Mouse Repair Upgraded Version (Parts Replacement Method), Solving Mouse Button Double-clicking Issue
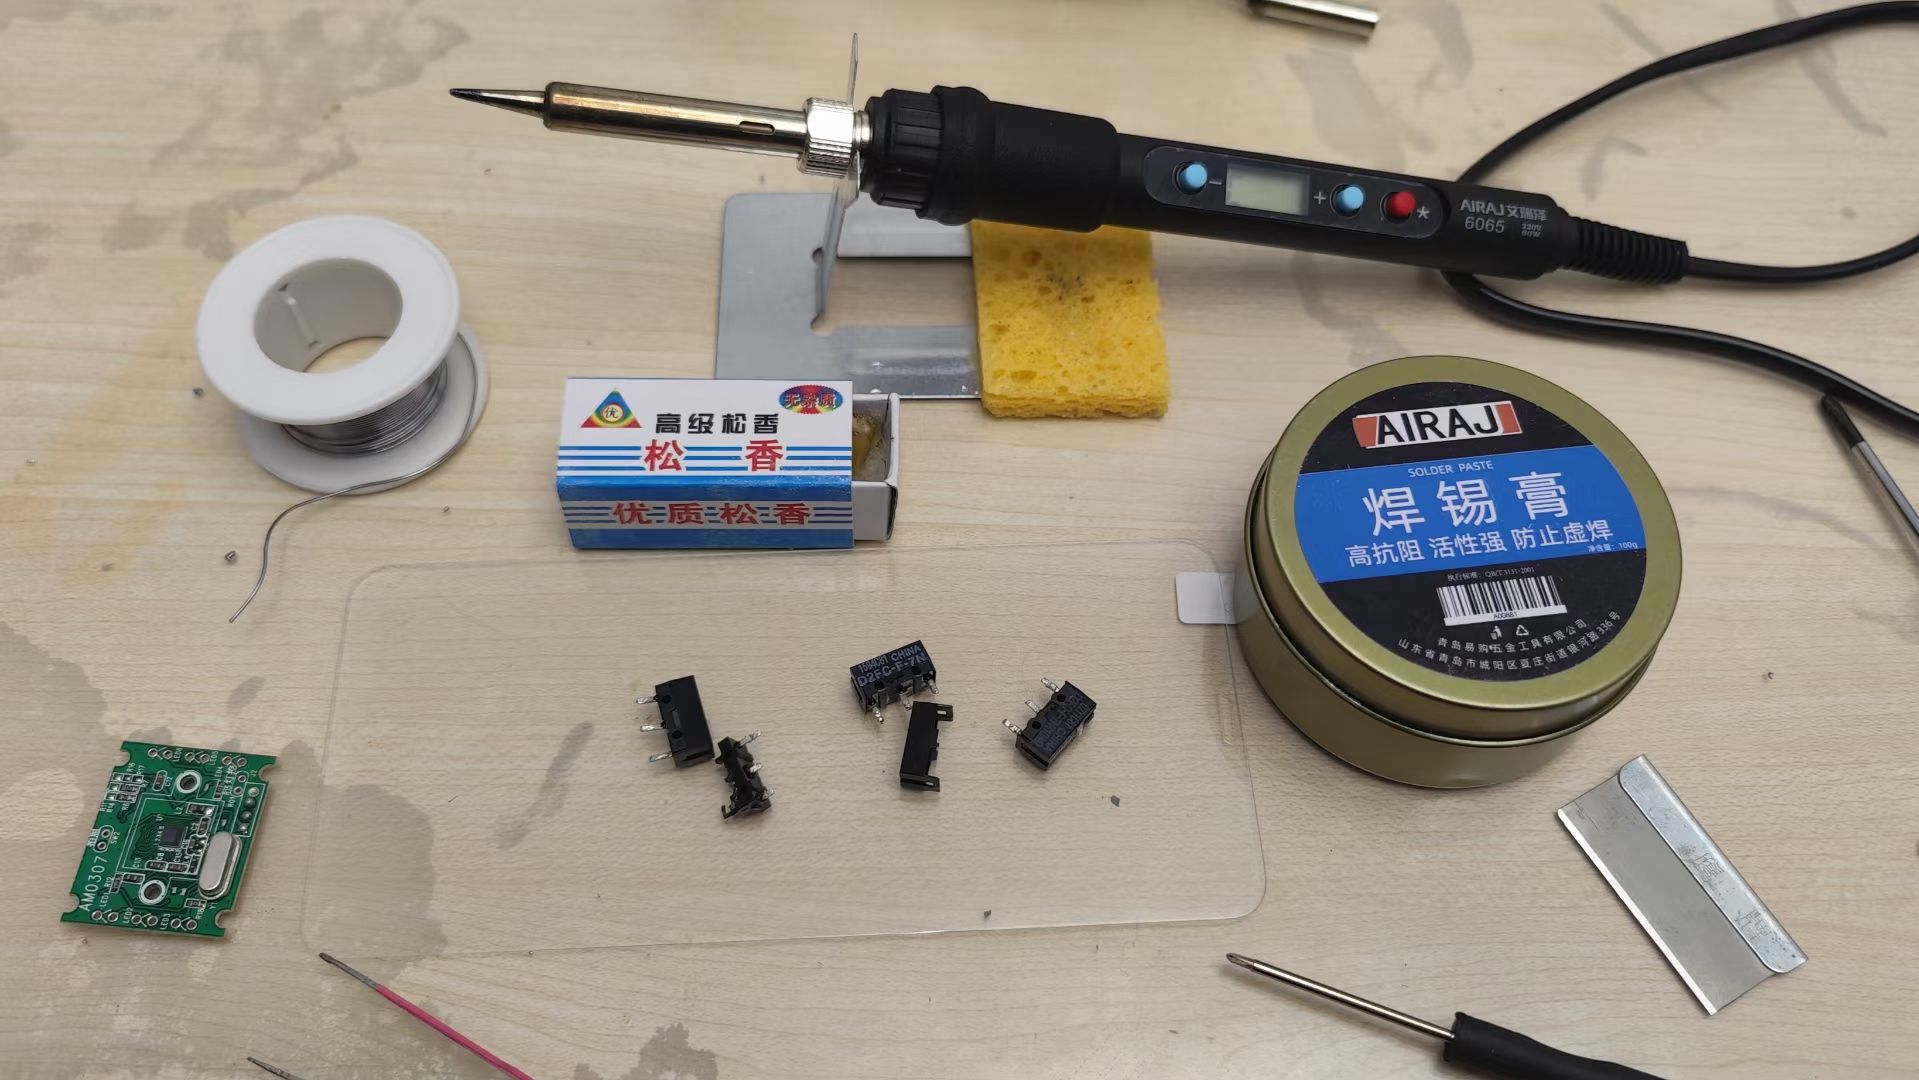
After repairing mice twice through non-replacement methods, I realized there were still a bunch of broken mice at home that couldn’t be fixed without replacing parts, so I started looking for parts replacement solutions. I bought a soldering iron kit and mouse micro switches, and got started.
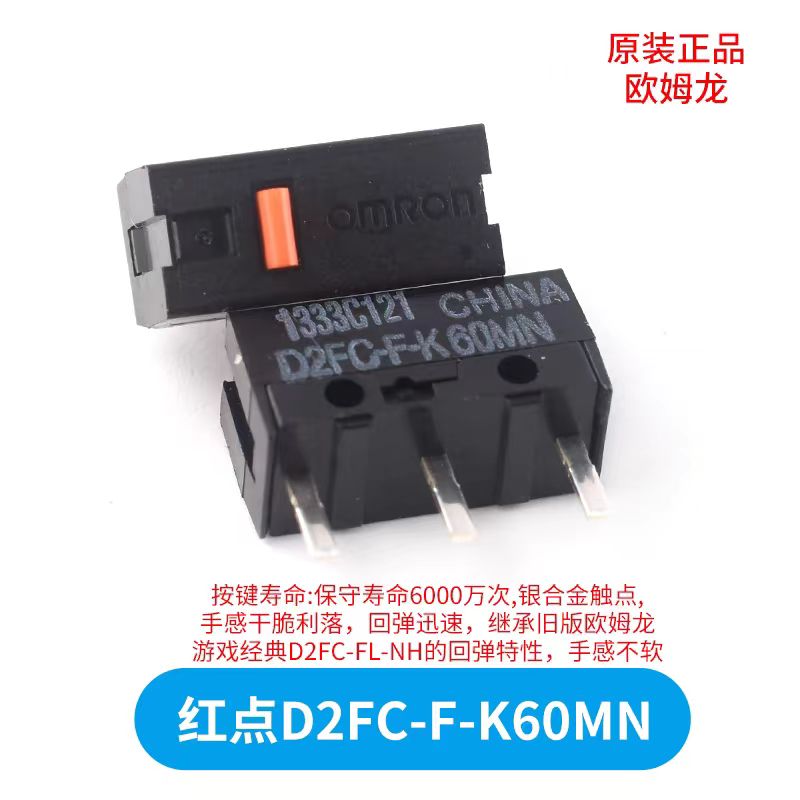
The mouse micro switch model I bought is: Omron Red Dot D2FC-F-K60MN. This micro switch is slightly stiff and the sound is a bit loud. If you’re used to silent mice, you might not be comfortable with it.
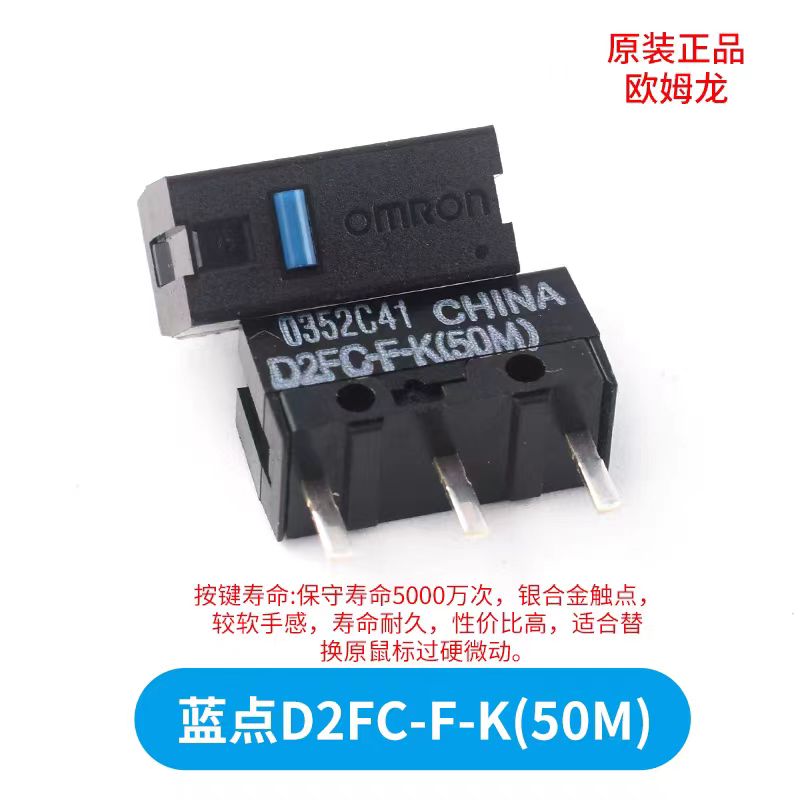
Some netizens say the micro switch model closest to the original micro switches of Logitech MX Anywhere 2S, Logitech M557, Logitech M558, etc. is: Omron Blue Dot D2FC-F-K (50M). I bought too many red dots, so I’ll have to try blue dots next time.
For the first operation, I specifically changed to the thinnest soldering tip, but the solder joints looked terrible. Later I searched for videos online and saw that experts all use chisel tips. The solder joints were much more even during the second operation.
Since I didn’t know if it would succeed, I didn’t keep detailed records, just took a few simple photos.
Problems encountered:
-
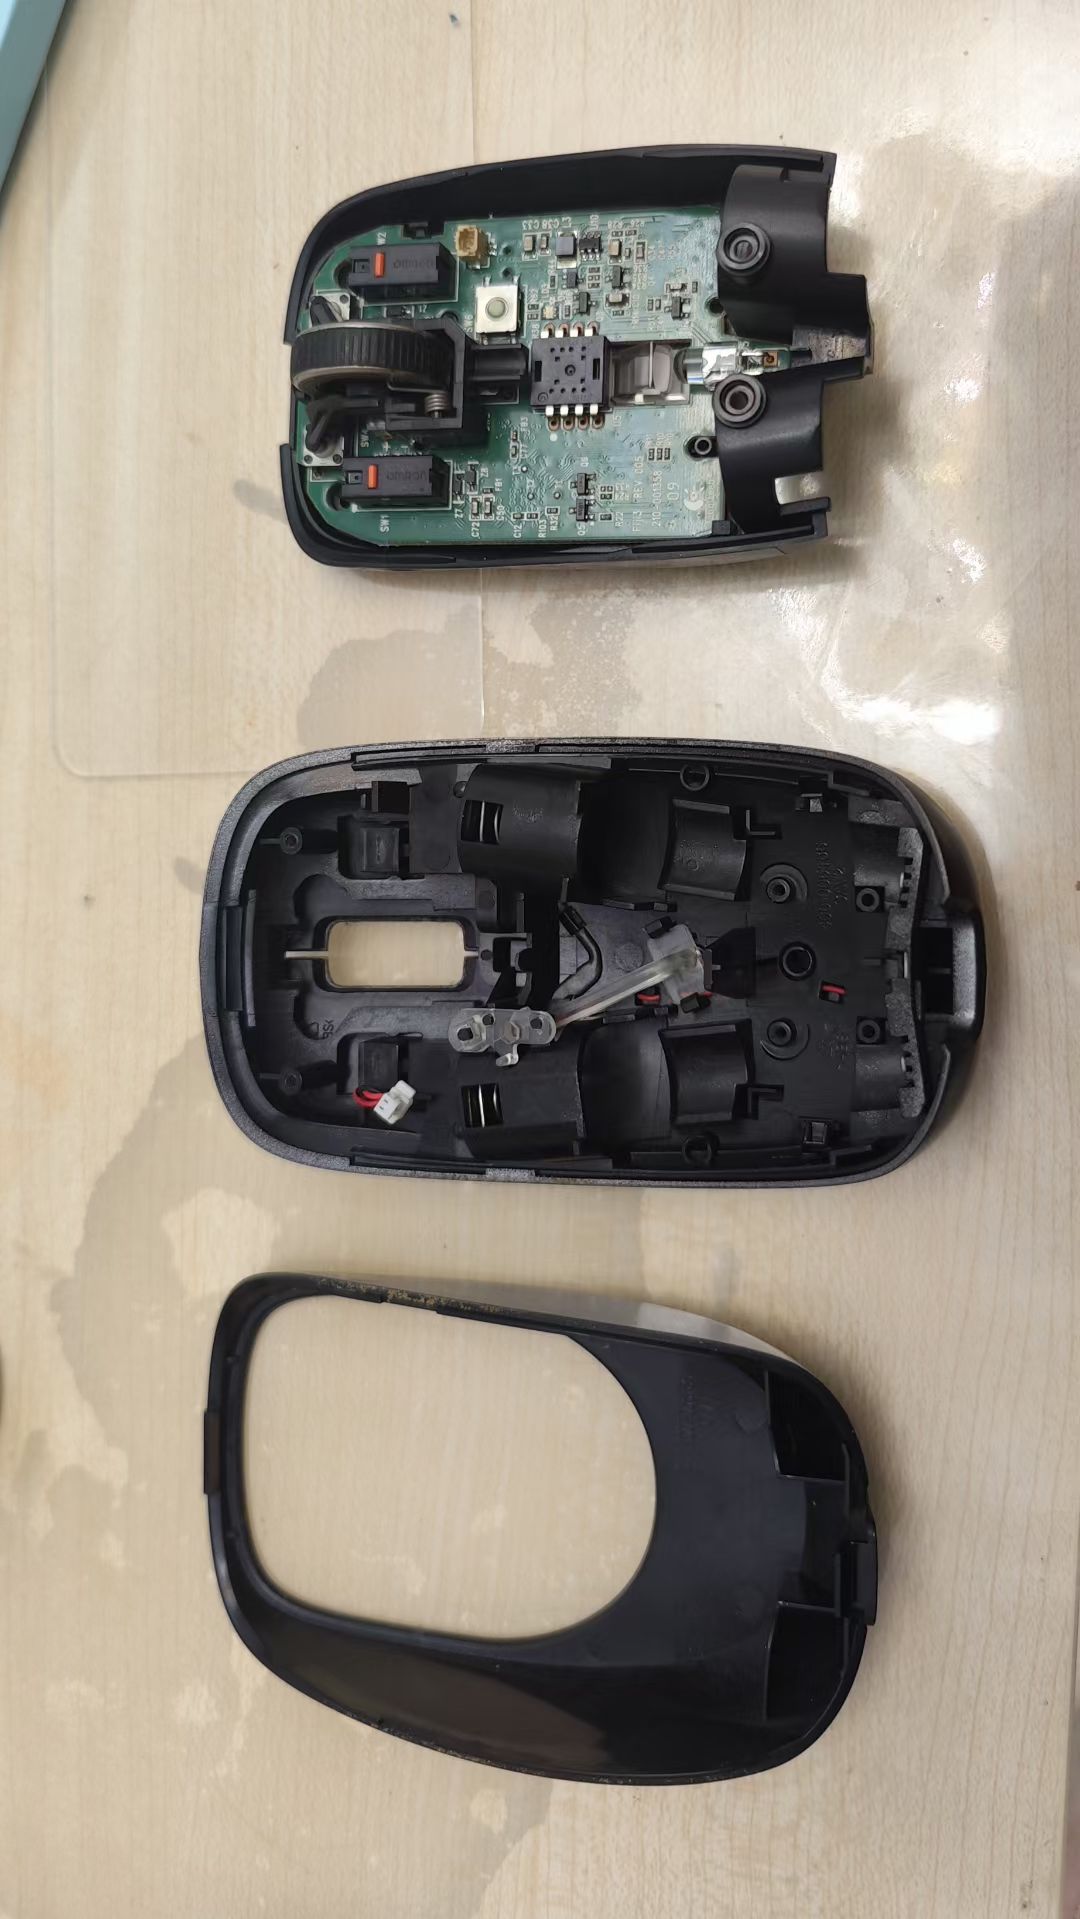
The Logitech MX Anywhere 2S power cable was extremely difficult to remove, almost broke the wire, and the slot also cracked. Fortunately, it still works after gluing it back together.
-
For Logitech M557/Logitech M558, don’t tighten the screws too much, as it’s easy to damage the mouse power switch. It also works after gluing.
-
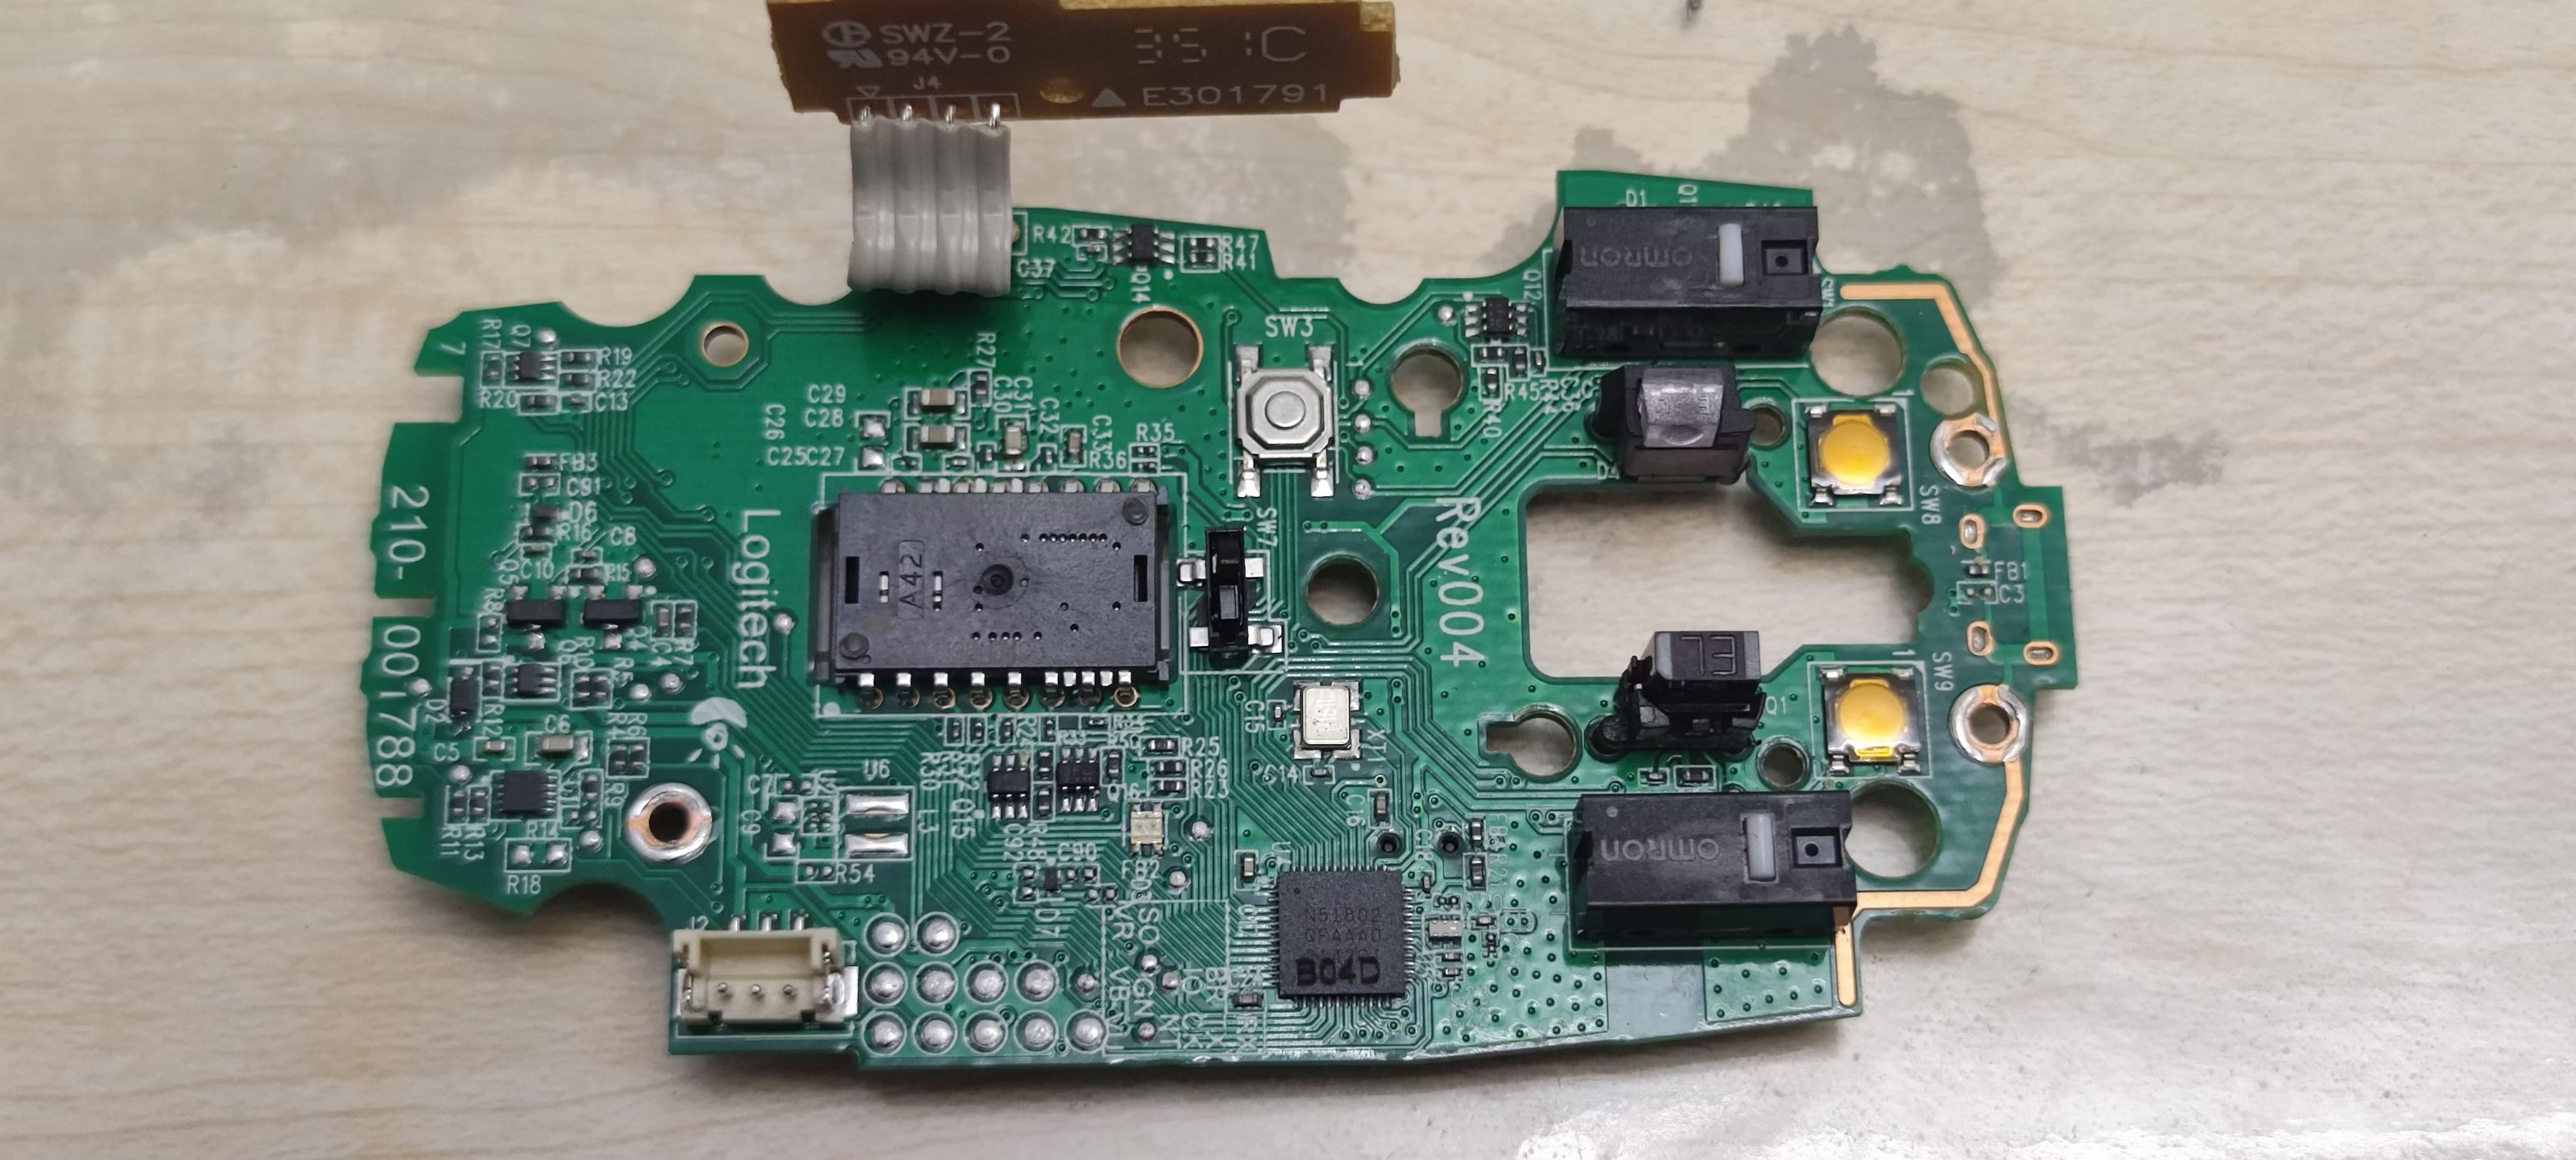
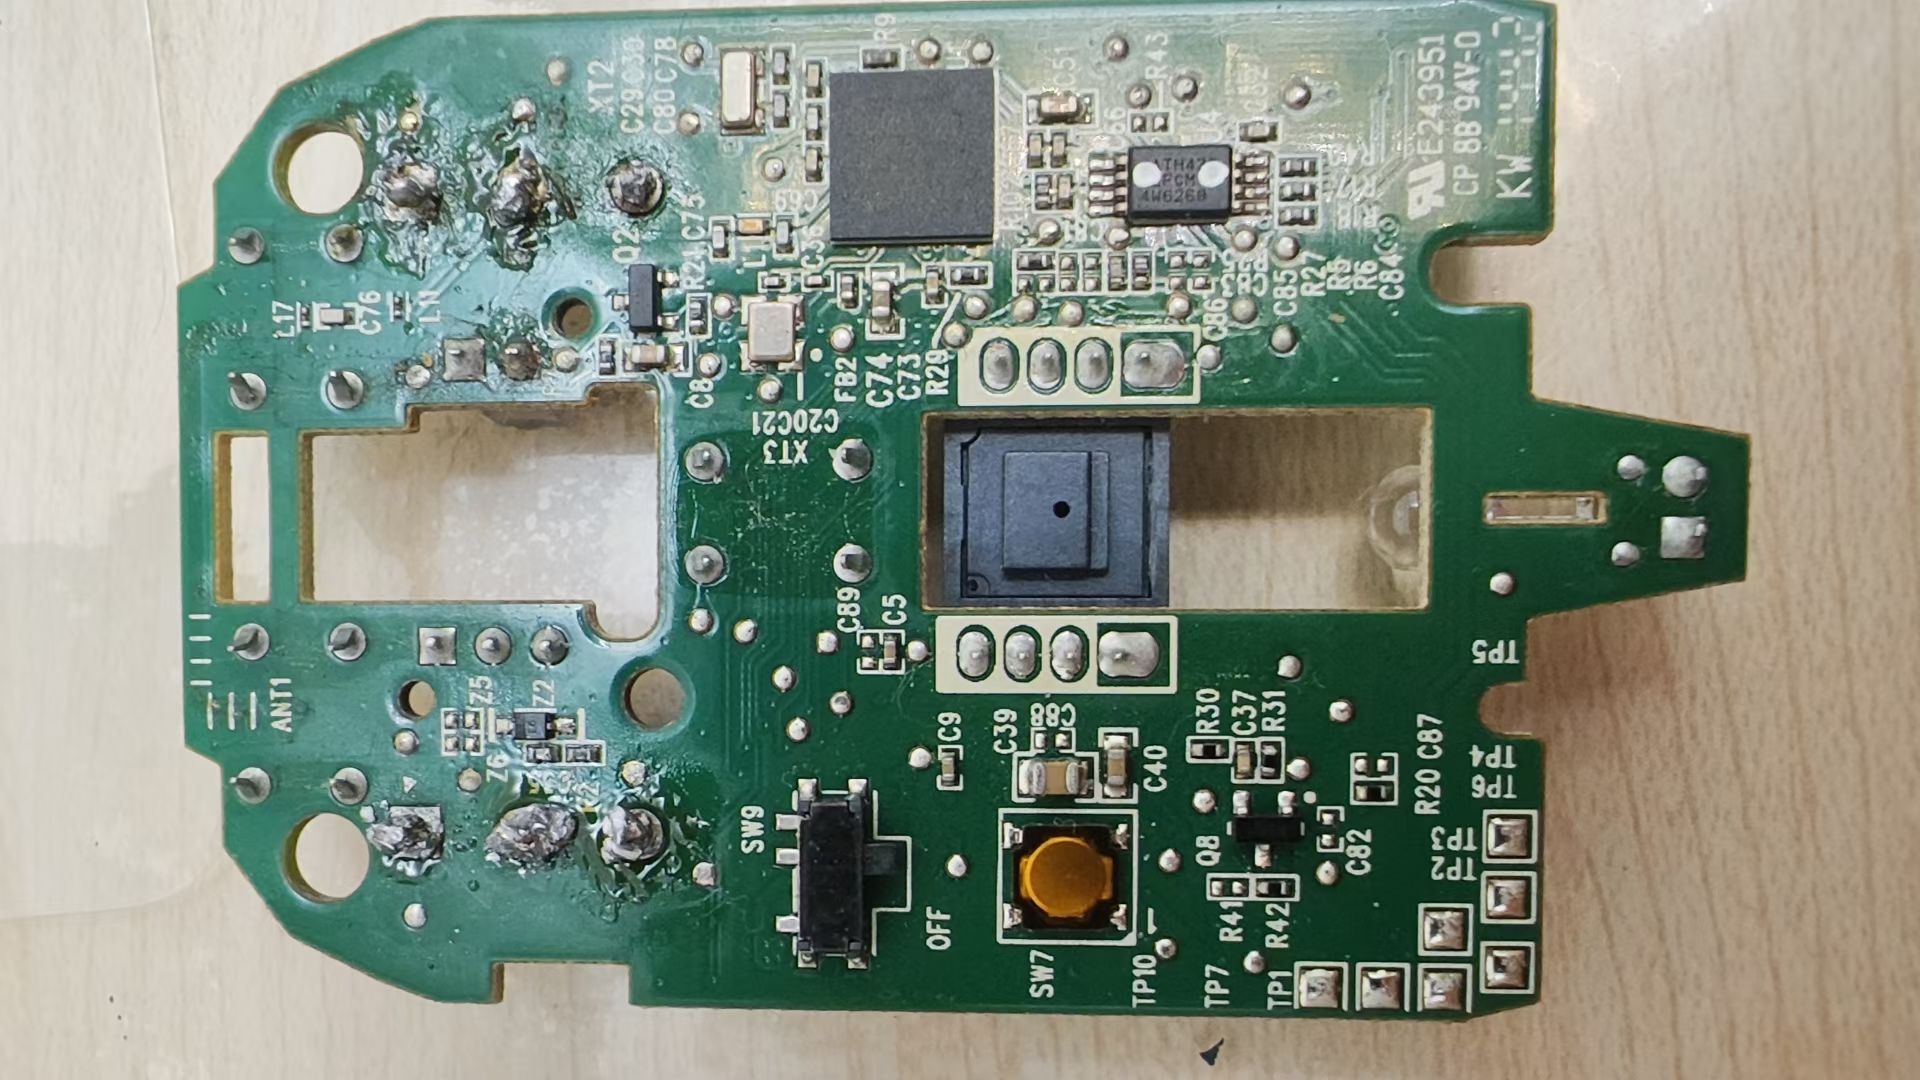
Disassembling the micro switches of Logitech mice is quite difficult. Be sure not to heat for too long, or it will burn the circuit board (the metal ring traces at the solder points).
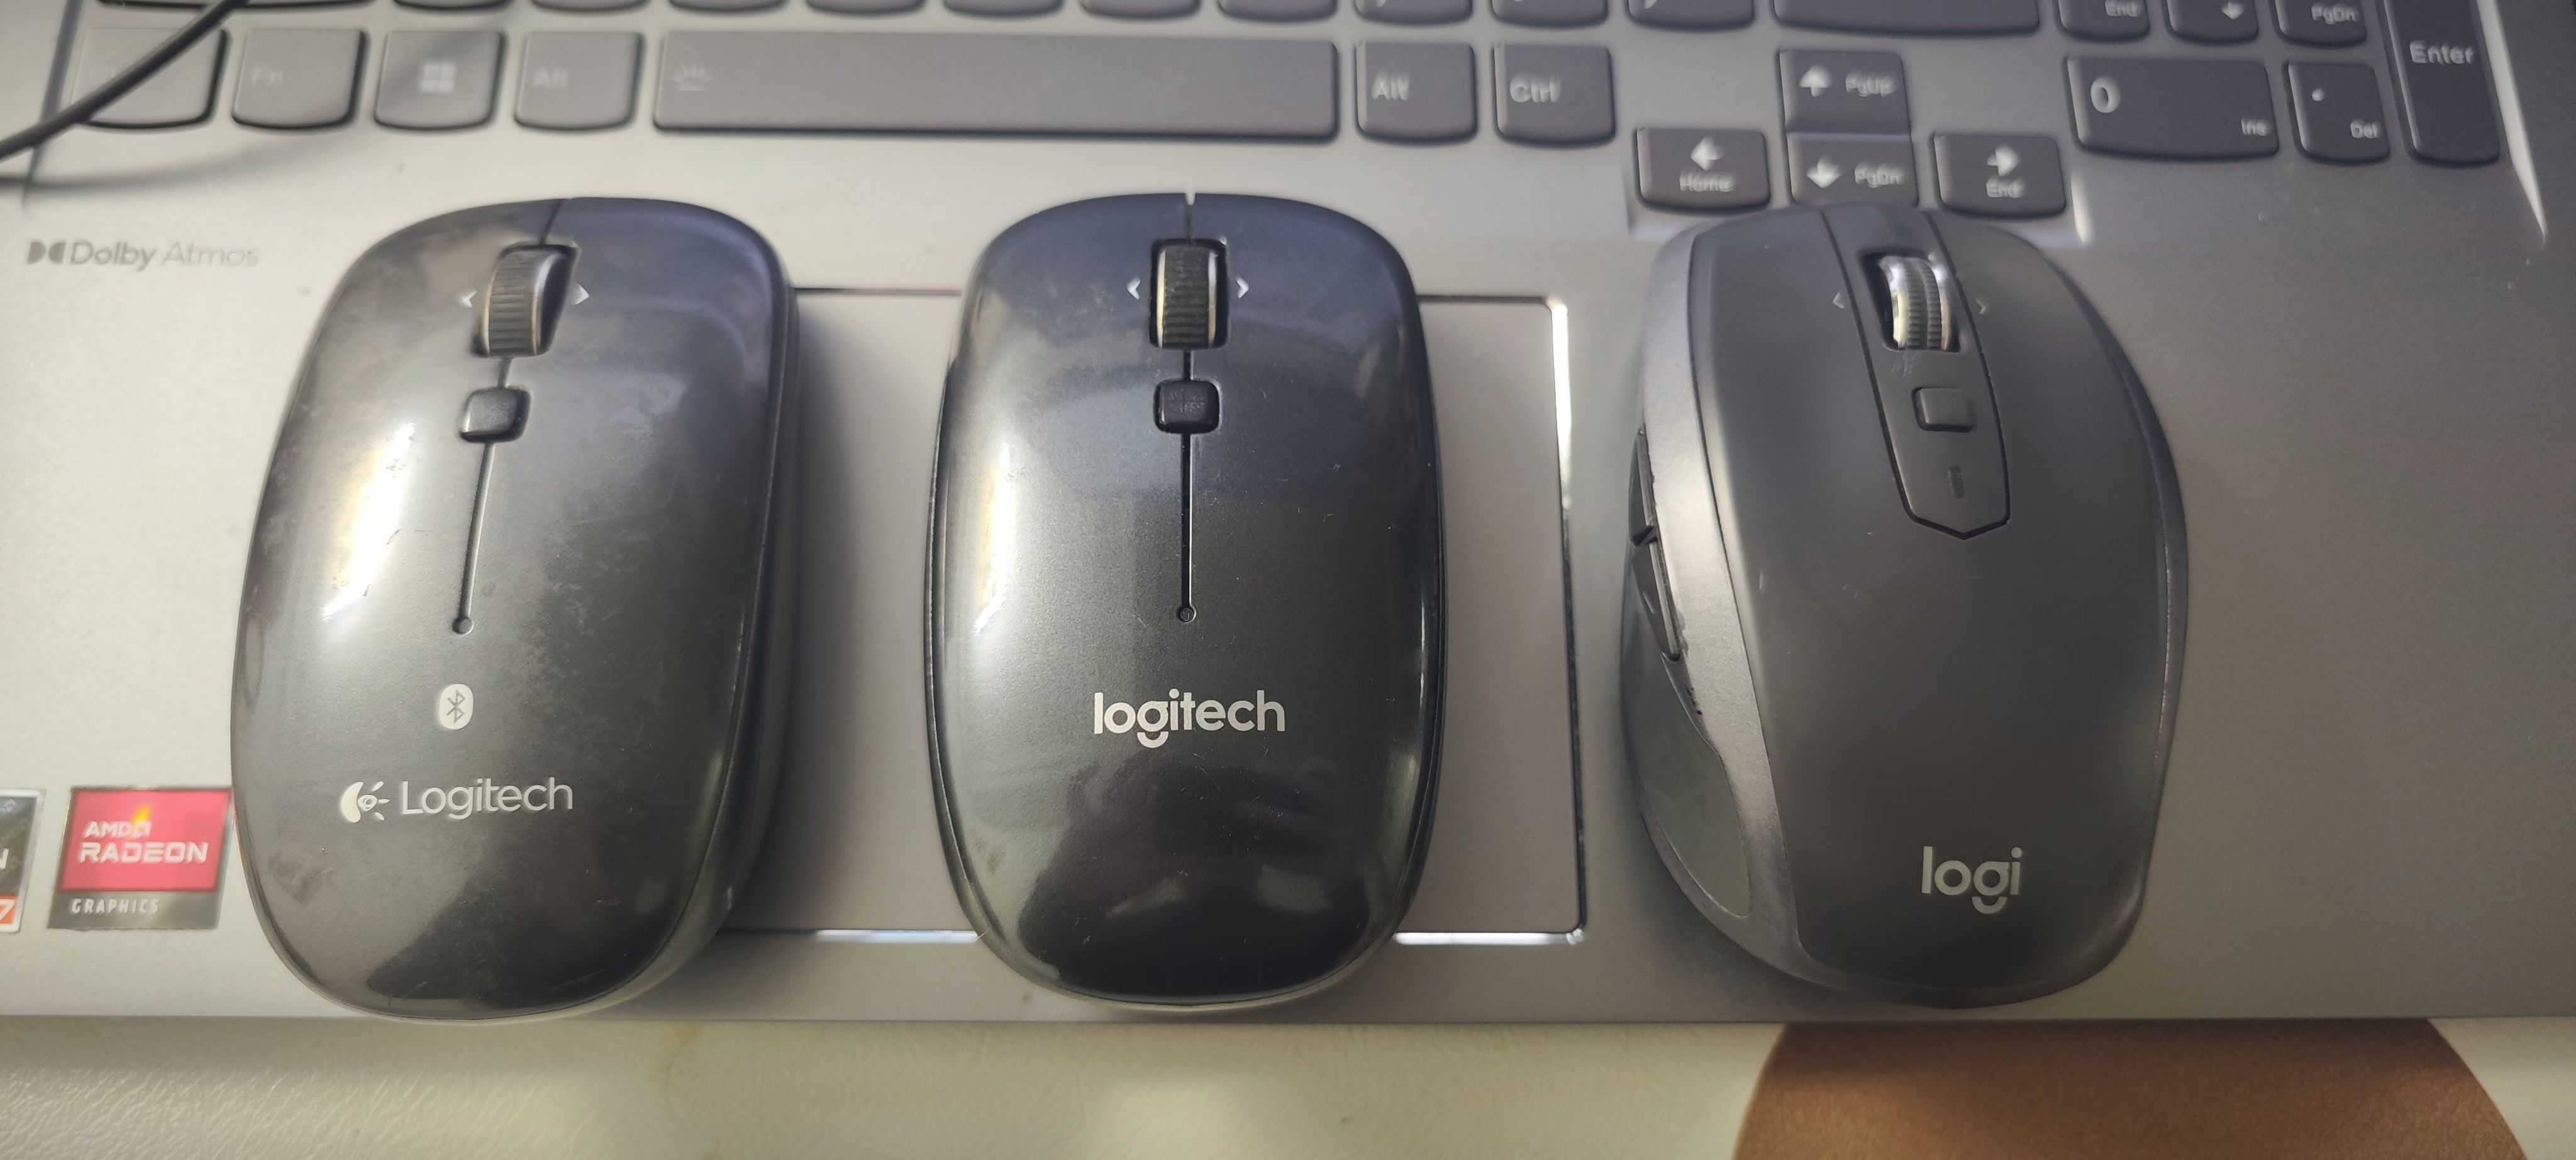
After a series of operations, I finally repaired 3 mice. The ending was quite satisfactory.